Get started with the NaaVRE tutorial
The aim of this tutorial is to discover the basic functionalities of NaaVRE: logging in, starting your virtual lab, creating a workflow from a notebook and running the workflow.
If you want to understand better why to use a virtual research environment, we recommend reading the summary of VRE's functionalities.
Content of the tutorial:
This is a screencast of the tutorial:
Starting NaaVRE
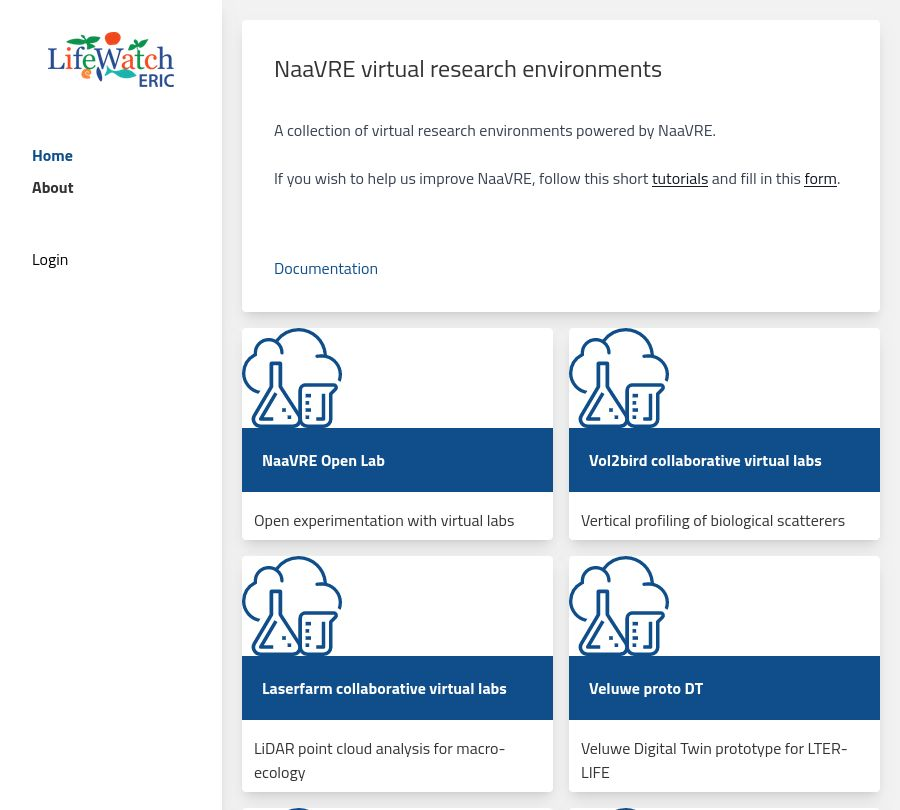
Open NaaVRE: https://beta.naavre.net.
Signing in
Click on the 'Login' button.
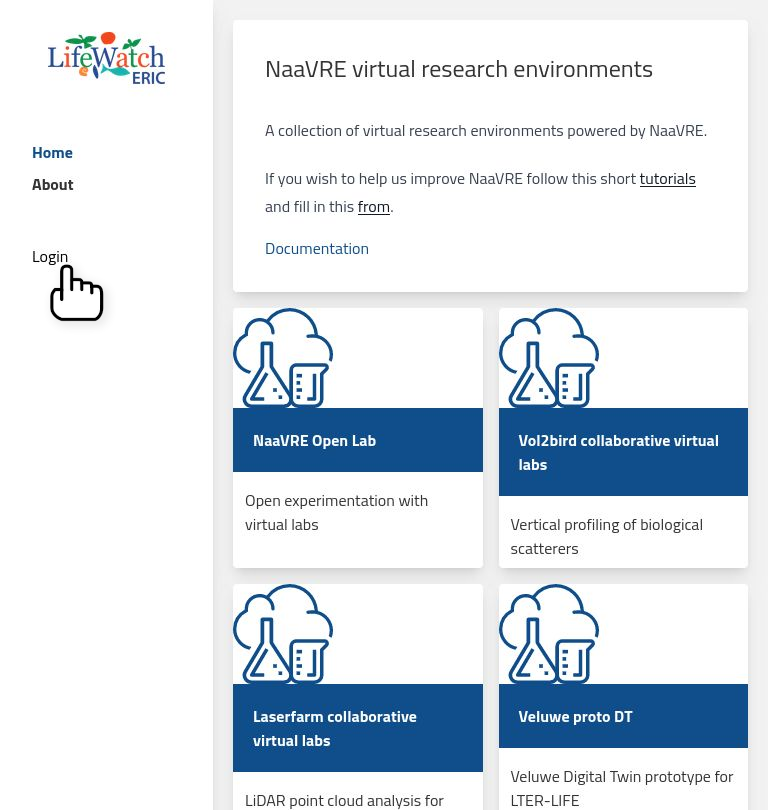
Choose your preferred login method:
- Option 1: Google
- Option 2: Federation with EOSC (provides several options such as GitHub, ORCID)
- Option 3: Register (Create an account)
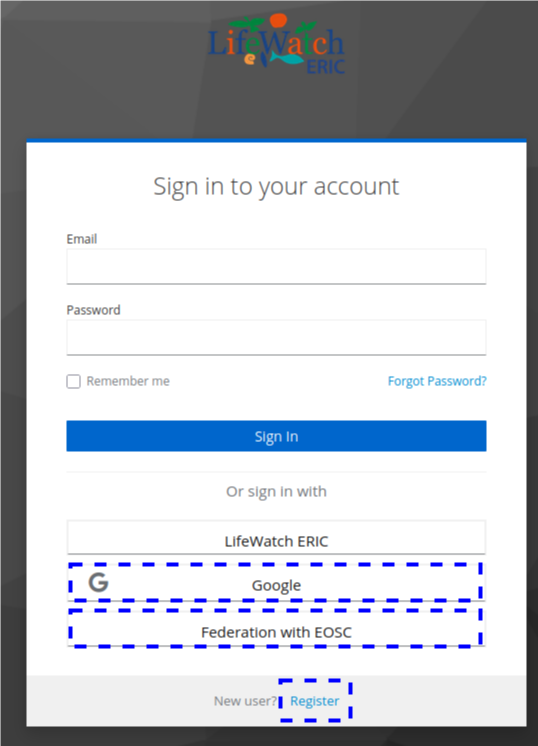
Option 1: Google
Press Google.
Continue the sign in process.
Option 2: Federation with EOSC
Press Federation with EOSC.
On the next page press EGI Check-in.
Choose your identity provider, or use the search bar to find your home institution:
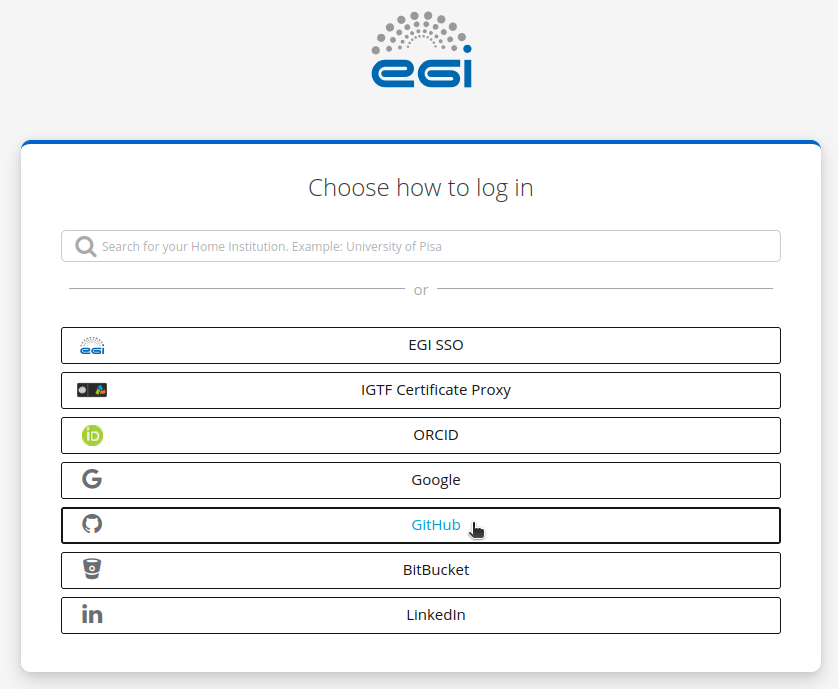
Continue the sign in process.
Option 3: Register
Press Register.
Fill in the form.
Underneath the form press Register.
Confirm using the link you receive by e-mail.
Pick your collaborative virtual lab
On the main panel, you will see several Virtual Labs (VLs). For this tutorial, select the 'NaaVRE Open Lab'.

When in the VL you can see:
- A description of the VL
- The instances (virtual lab sessions) started by other users
- A button to start your own instance of the VL
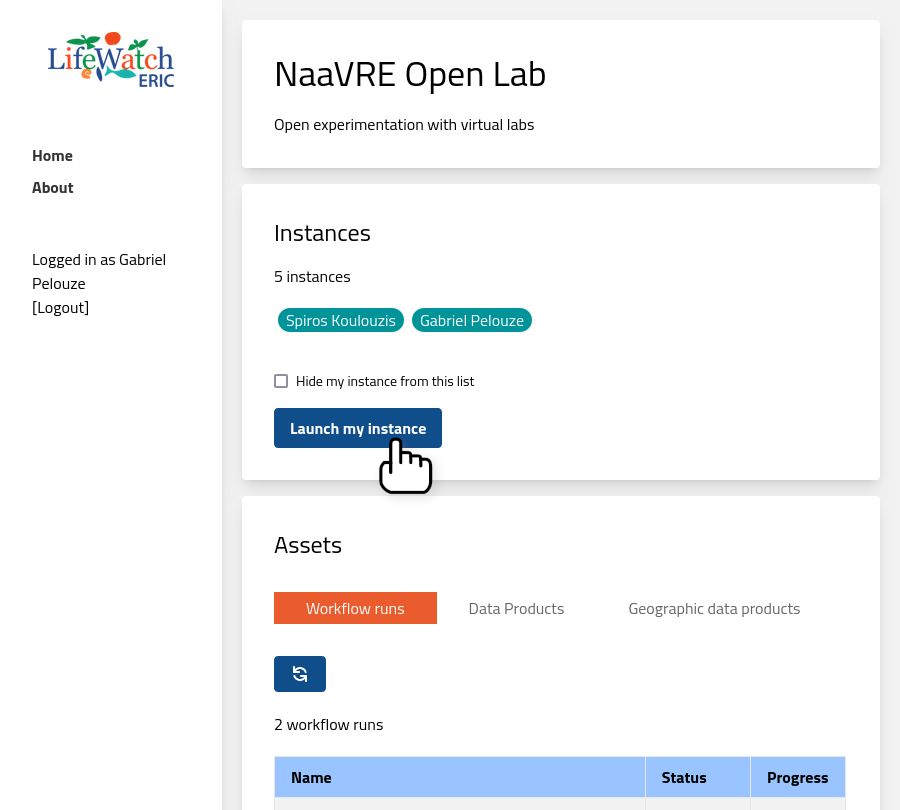
Starting your virtual lab
Click on the 'Launch my instance' button.
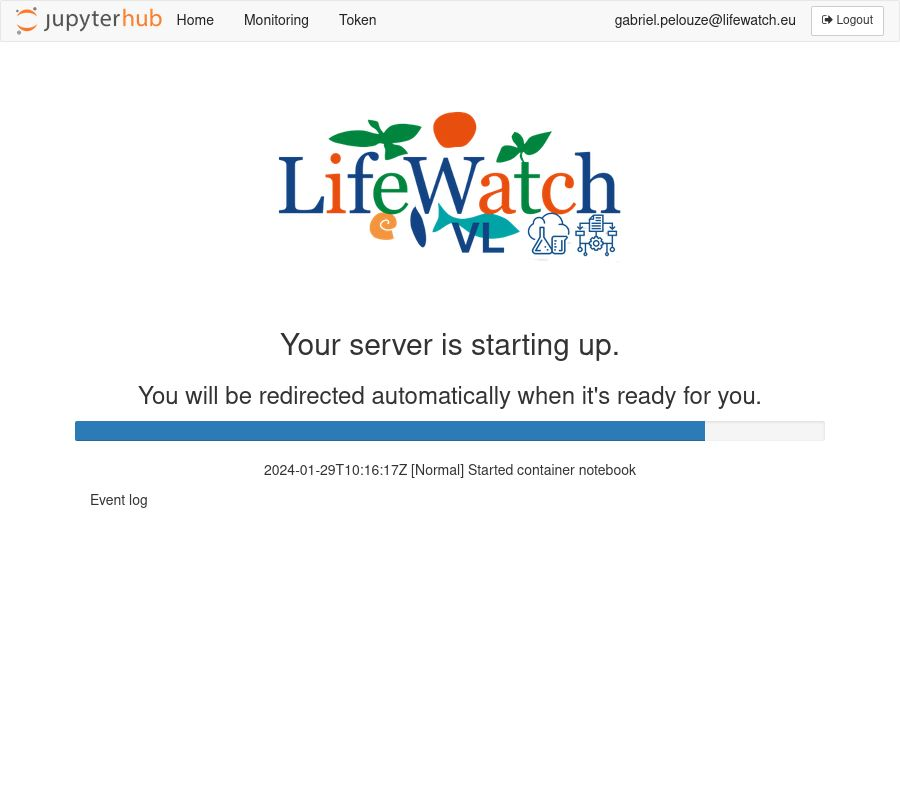
This opens a new tab where your virtual lab will be started. Click on the 'Sign in' button.
On the new page click on the 'Sign in' button.

Your virtual lab instance starts up.
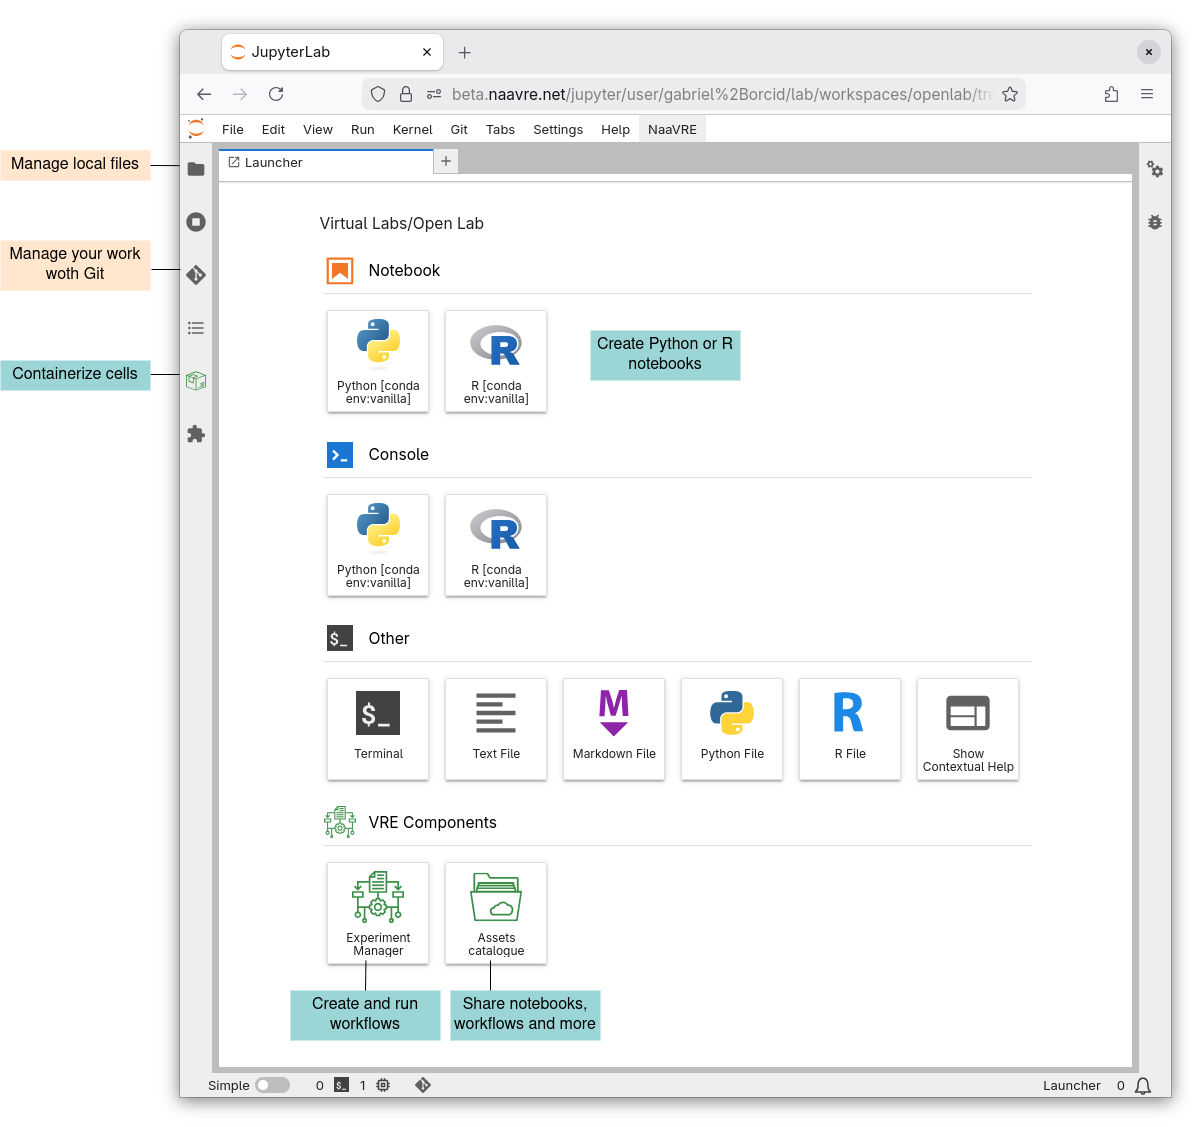
The NaaVRE interface in Jupyter Lab
You now see the NaaVRE interface in Jupyter lab. A detailed description of NaaVRE fucntionalities is available on the NaaVRE documentation page.
If the Launcher page is not open, click on the new tab button or 'File->New->New Launcher'.
From notebook to workflow
Users can iteratively develop their data analysis and simulation code in NaaVRE by writing and running code in a Jupyter notebook. Once the code writing is done and it runs in the notebook, users can create workflows from their code to increase shareability and scalability.
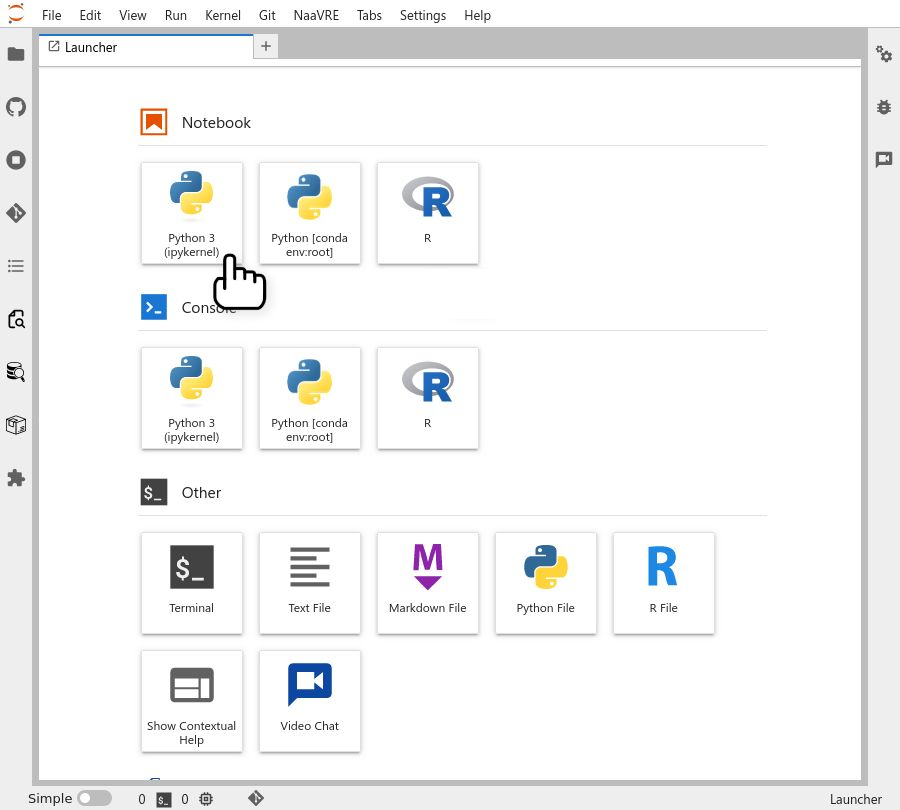
Create a notebook
Create a new Python or a R notebook by clicking on the 'Python 3' or the 'R' icon under 'Notebook' on the launcher tab.
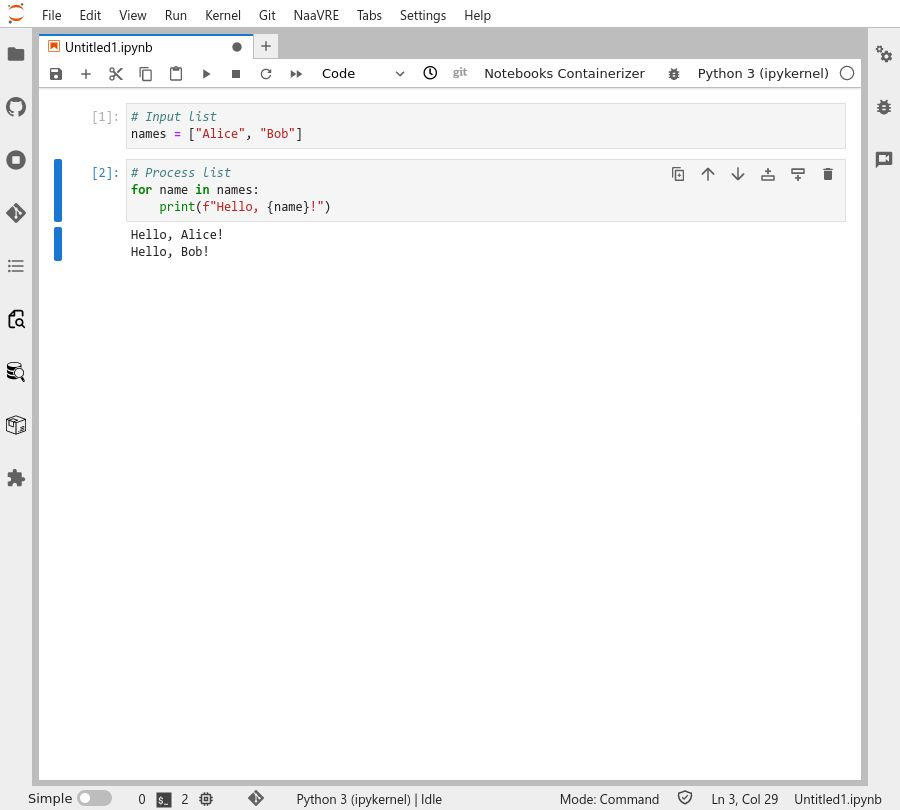
Add some code to the notebook. For this tutorial, we will use a simple 'hello, world' example over two cells. The first one sets the data (in a real world application, this cell could download data from a repository), the second one prints the data (this could correspond to processing the data and generating some figures).
If you chose Python:
# Input list
names = ["Alice", "Bob"]
# Process list
for name in names:
  print(f"Hello, {name}!")
If you chose R:
# Input list
names = list("Alice", "Bob")
# Process list
for (name in names) {
  print(sprintf("Hello, %s!", name))
}
Containerize the cells
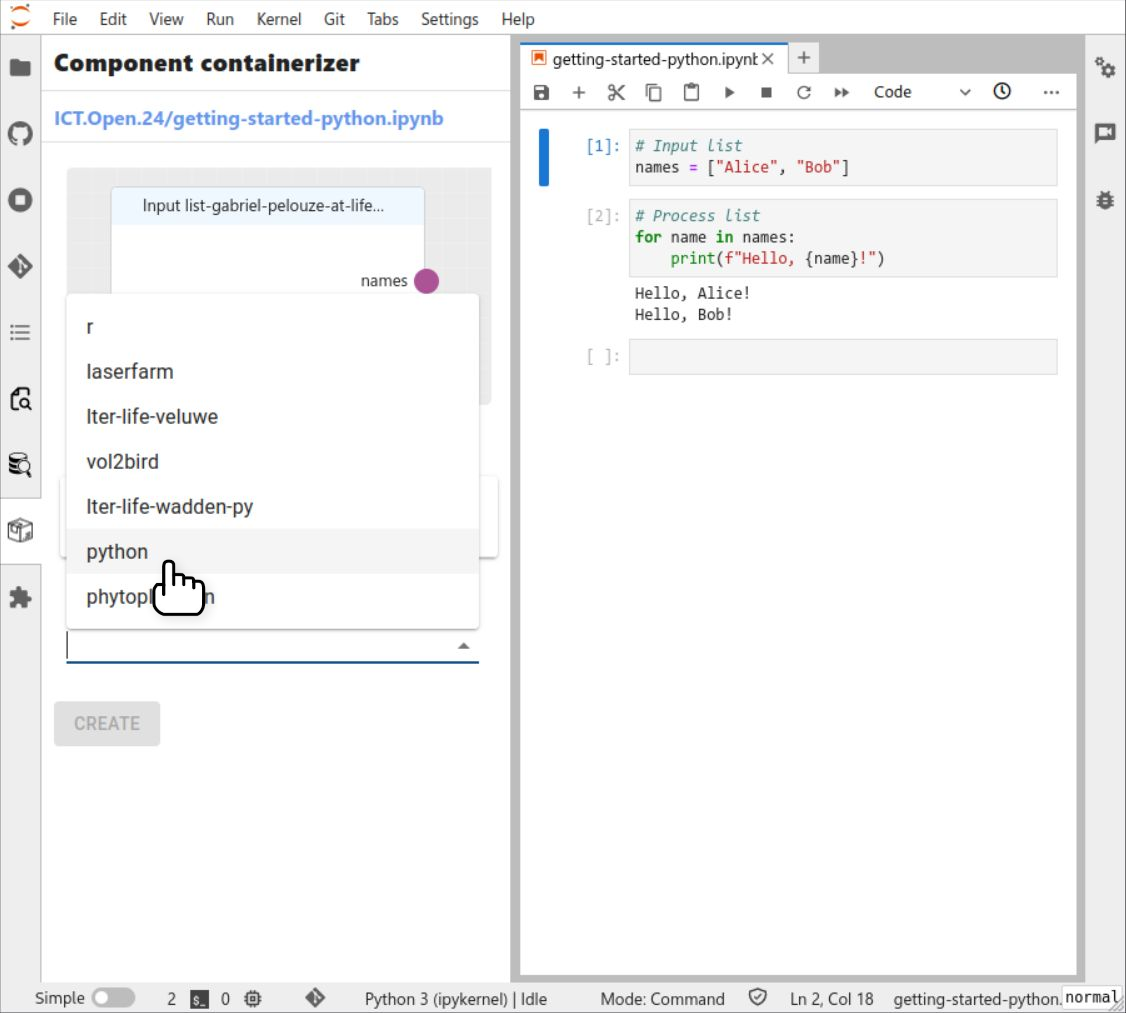
Open the component containerizer panel by clicking on the icon in the left-hand bar.
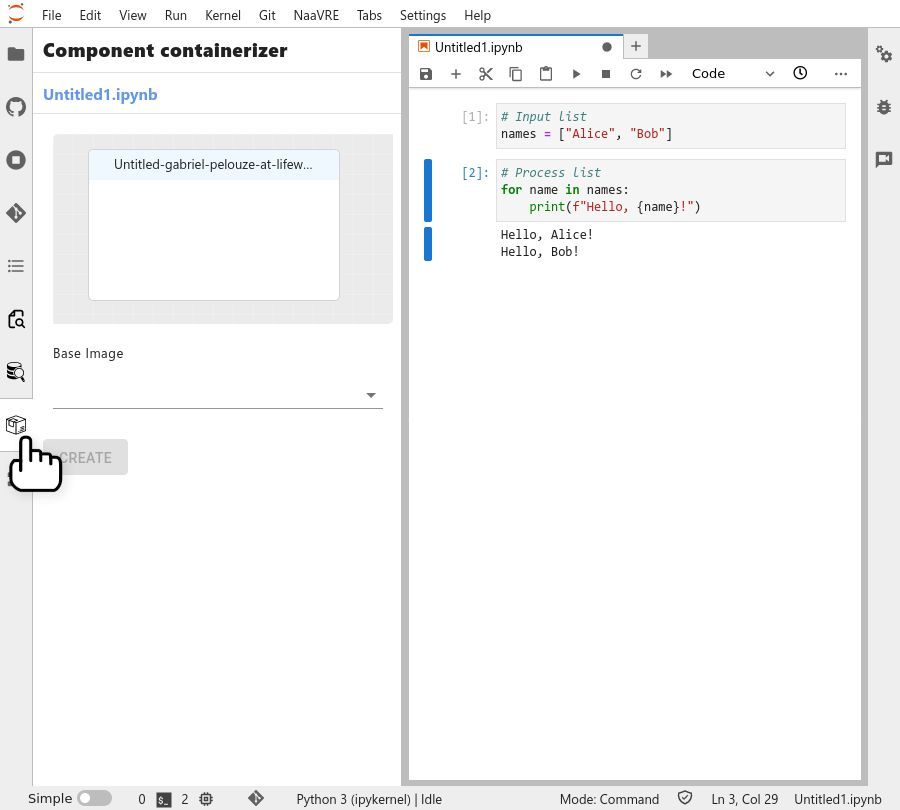
Select the first cell to containerize it.
On the left panel, you will see a preview of the containerized cell with the detected inputs, outputs, parameters and dependencies (if any).
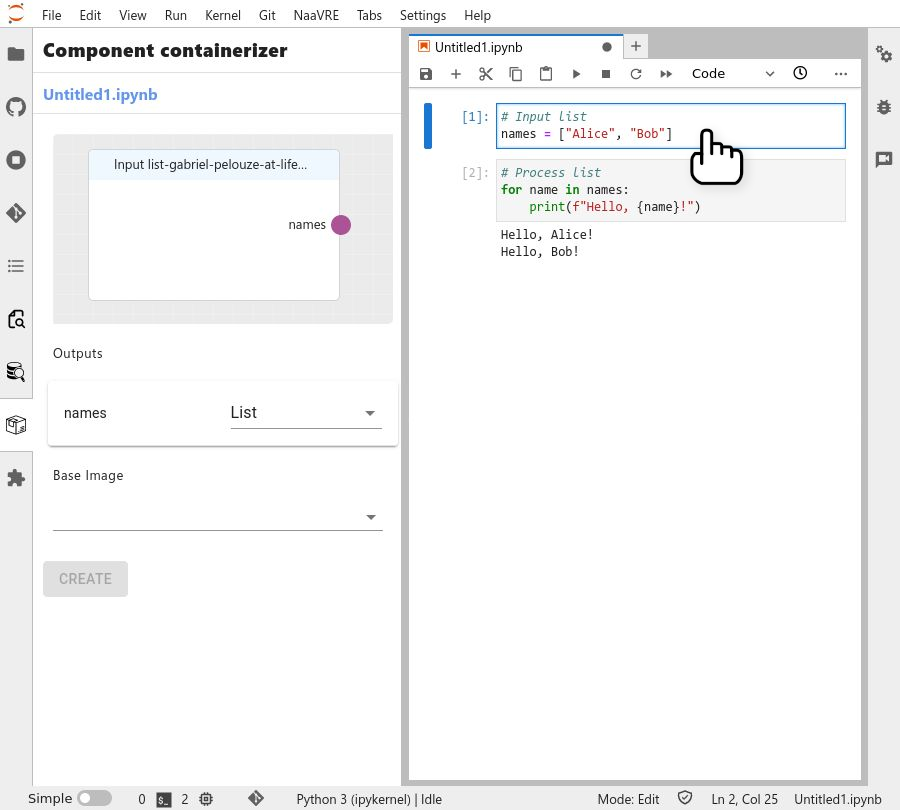
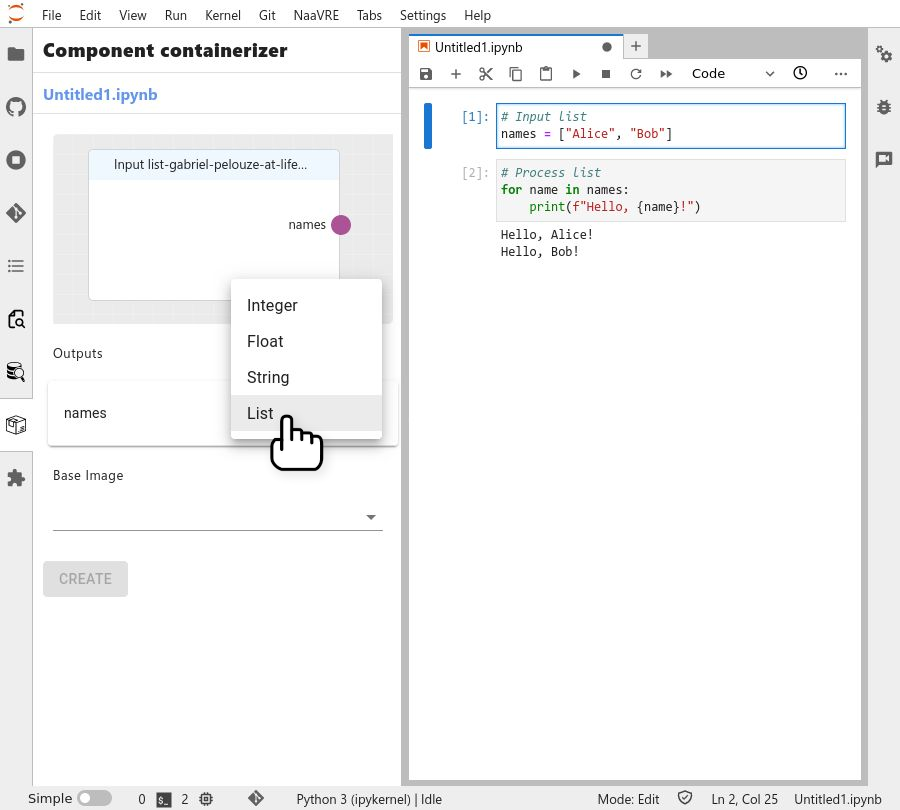
In most cases type is inferred automatically. If it is not, select the appropriate type ("list" for the example code).
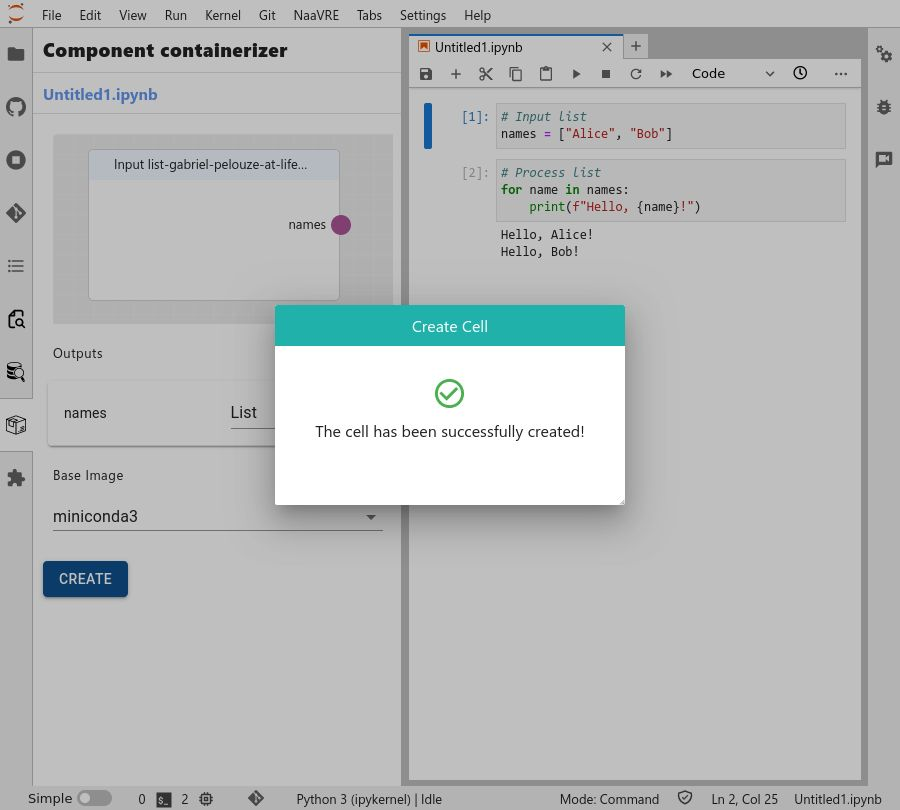
Select the base image (the cloud equivalent to a local environement) for the containerized cell ('r' or 'python' depending on your notebook).
Click on the 'Create' button.
This publishes the contents of the cell to a public repository on GitHub. Do not containerize cells containing passwords, API keys, or any code you wish to keep private.

Congratulations, you containerized your first cell!
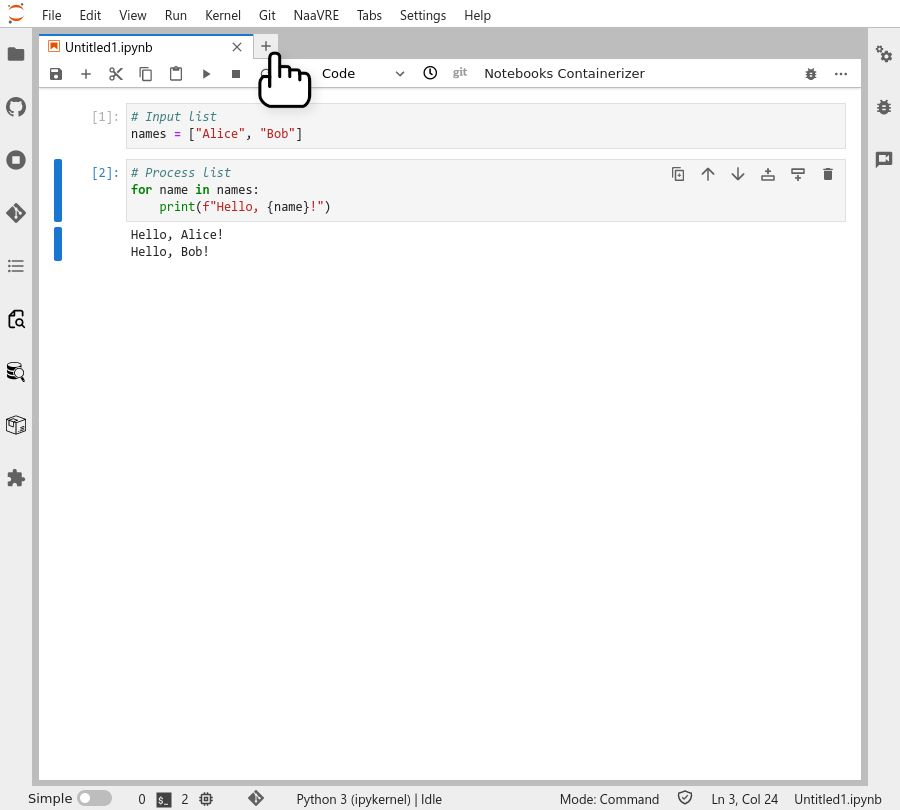
Repeat the containerization cells for the second cell in the notebook.
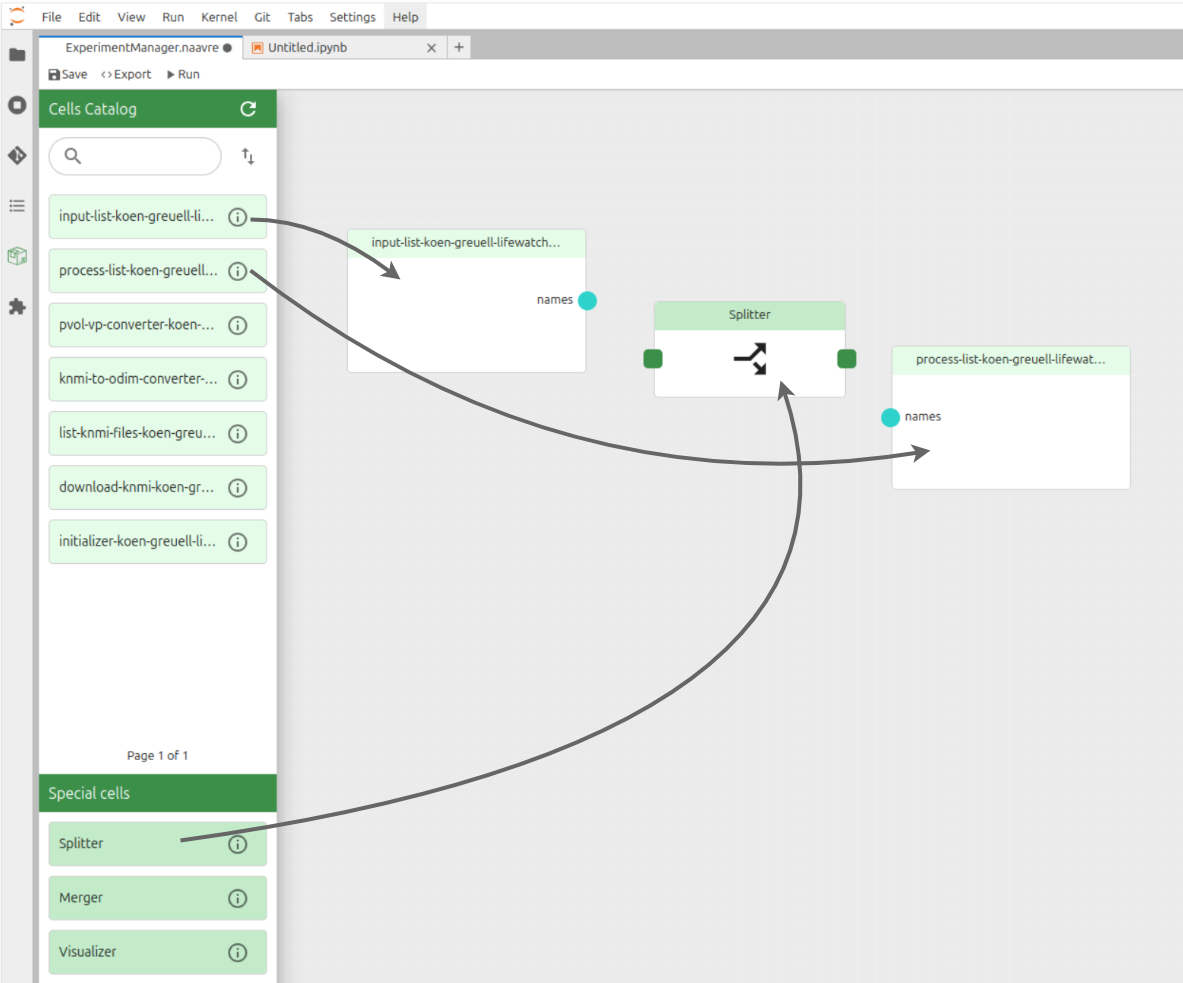
Compose a workflow
To compose a workflow open a new tab and click on the 'Experiment Manager' icon.
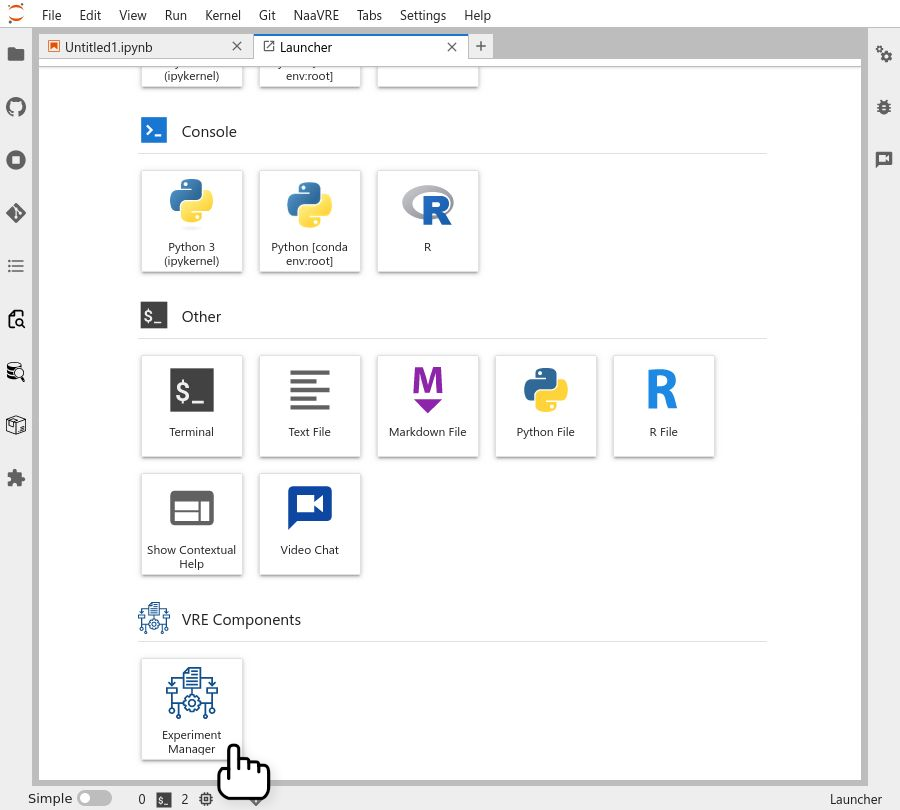
Drag and drop the two cells onto the canvas, as well as a 'splitter' workflow component.
The 'splitter' component splits the items from a list or array into its elements to parallelize computation in the next workflow component. See the Experiment Manager documentation for more information.
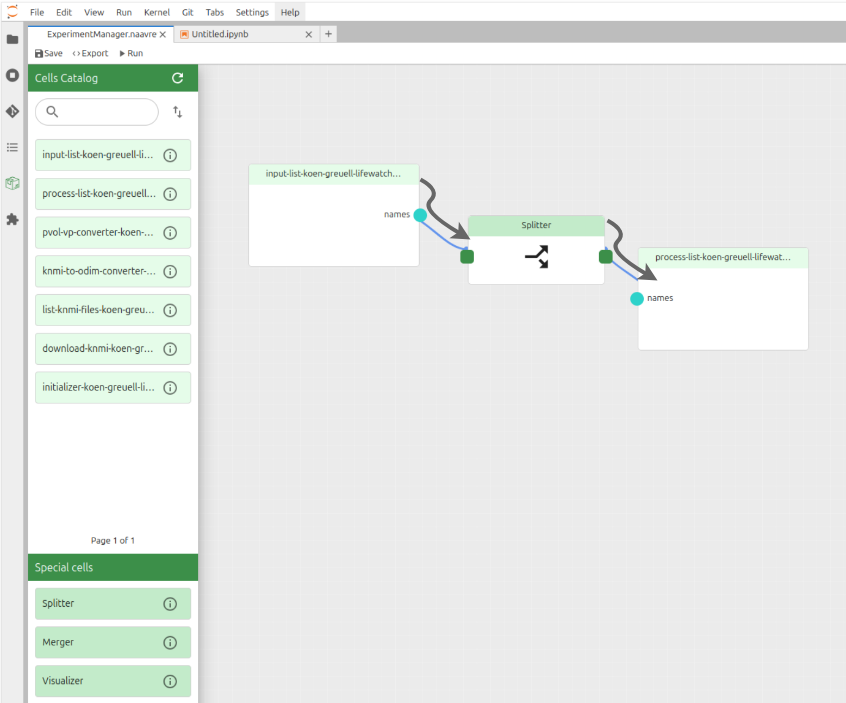
Connect the cells nodes.
It is important to note that the direction of the connections between the cells is important as it indicates the flow of data dependencies between the cells. Therefore, the flow should be: 'Input list' -> 'Splitter' -> 'Process list'.
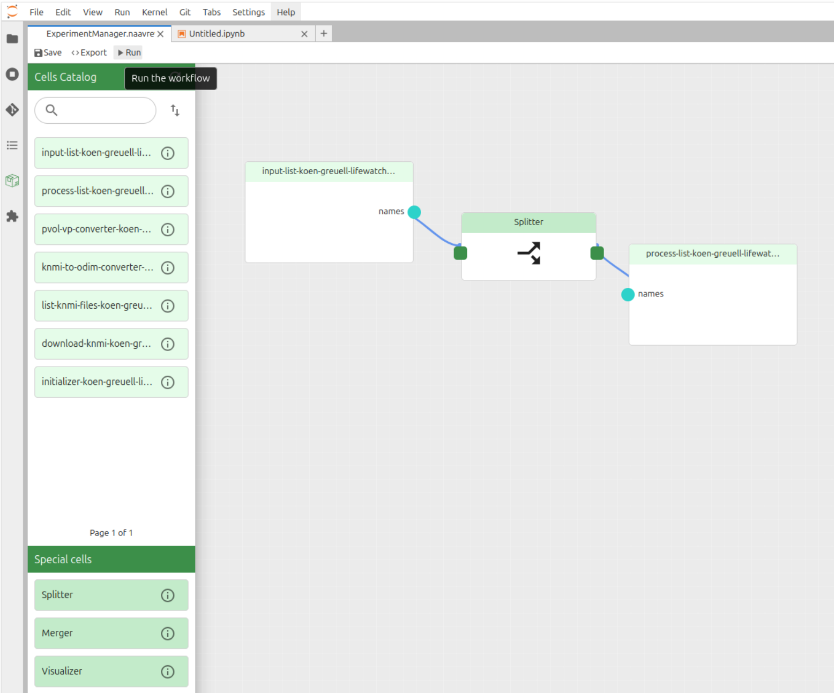
Click on the 'Run' button.
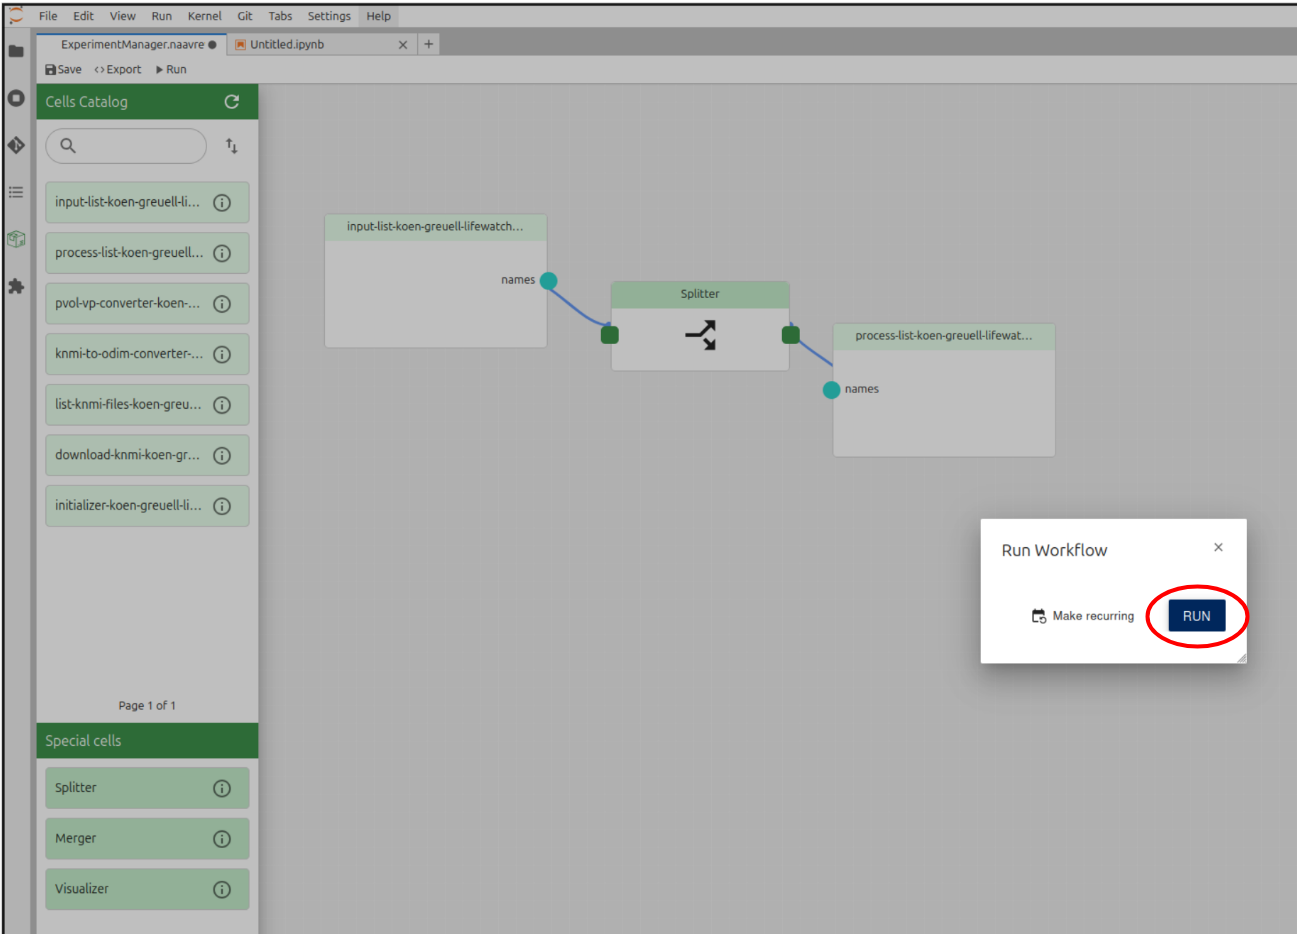
Click on 'Run'
If your workflow uses parameters, you can set their values here. To use values from the notebook, click on 'Use notebook values'.
Monitor the workflow
To check the progress of the workflow click on the link on the pop-up message.
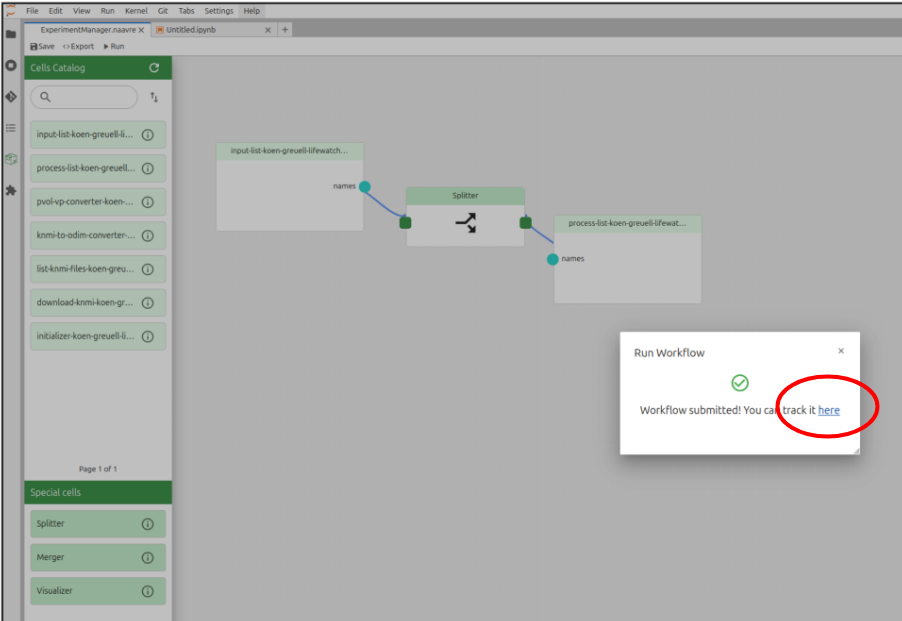
This will take you to the workflow engine page where you can see the progress of the workflow. Click on a node to see its status and logs.
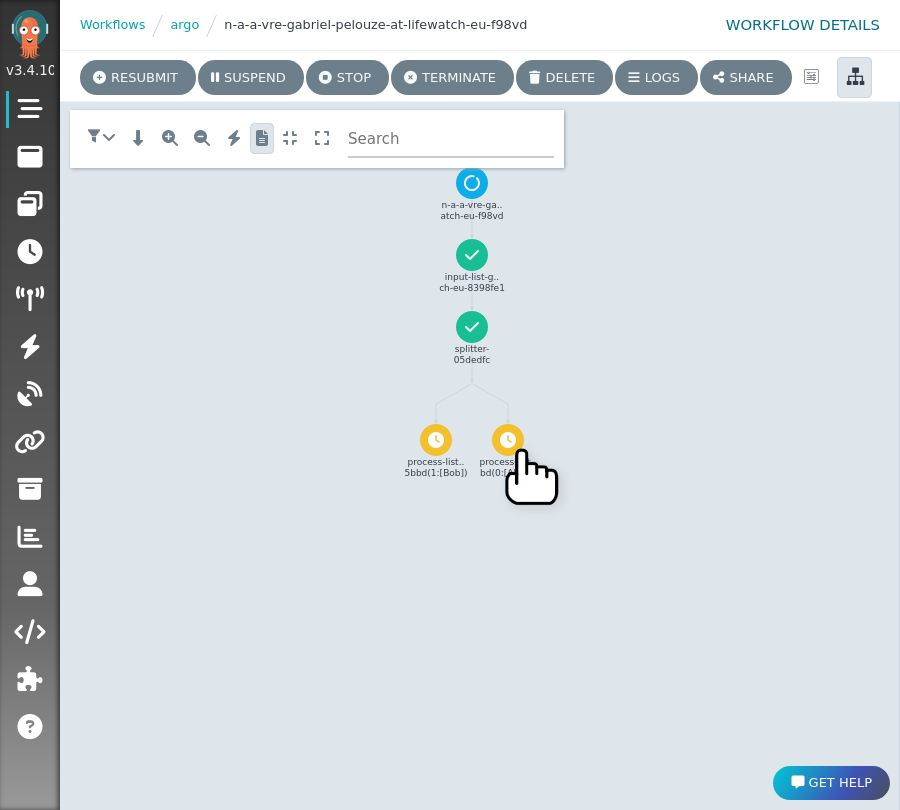
The first time you open the workflow engine, select the 'single sign-on' login, and close the welcome message.
Summary
You now have a broad overview of workflow creation and workflow running in NaaVRE. To get a better understanding and find out more about other functionalities, you can check the NaaVRE documentation.